> ## Documentation Index
> Fetch the complete documentation index at: https://developer.paywint.com/llms.txt
> Use this file to discover all available pages before exploring further.
# Overview
> Register and manage users in Paywint to enable payments, wallets, and other financial services.
User management is the foundation of your Paywint integration.\
Every financial action—payments, wallet transfers, payees, card linking, and checkout—starts with a registered user.
***
## Integrate User Management
Use the User Management API to create, list, and retrieve users.\
These endpoints are required for onboarding users into your platform and enabling any financial features.
Register a new user under your platform. Required before enabling financial actions.
Retrieve all users associated with your platform account.
Fetch complete user details including profile, compliance status, and linked methods.
***
## User Workflow with Paywint
Call [Create User](/api-reference/users/create) to create a Paywint user record and obtain a Paywint User ID.
Wallet-to-wallet payments do not require any compliance checks.\
Other payment methods—such as bank transfers, ACH, or card-based payouts—may require the user to complete necessary [KYC](/api-reference/compliance/kyc/create-enquiry-link)/[KYB](/api-reference/compliance/kyb/submit) steps depending on usage and regulatory rules.
Users can
[add bank accounts](/api-reference/bank-accounts/add),
[add cards](/api-reference/cards/add),
[create payees](/api-reference/payee/create-payee),
and use their [Paywint wallet](/api-reference/wallet/get).\
Most features are available by default, and some advanced capabilities may require contacting the Paywint support team.
Users can immediately make wallet-to-wallet payments.\
For other payment types, usage depends on whether required verification steps have been completed.
***
## Merchant Dashboard
Manage users directly from the merchant dashboard.\
View user details, verification status, wallet balances, payment activity, and more.
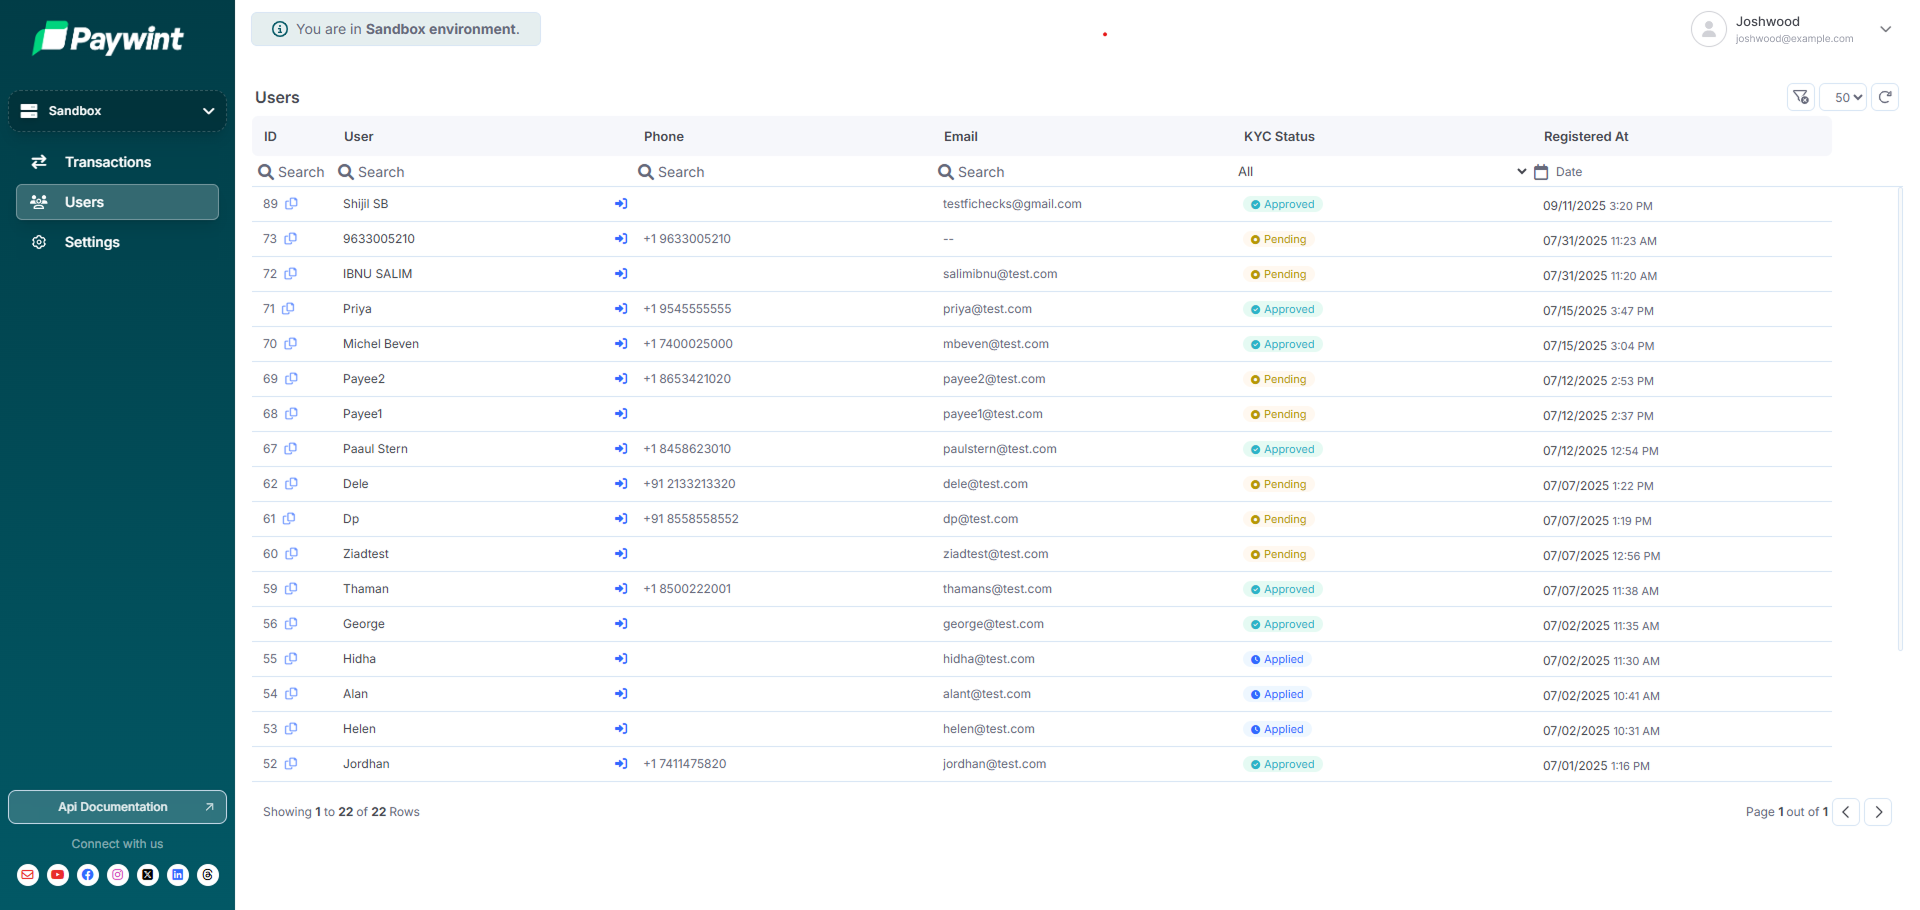 Access your sandbox merchant dashboard for testing and integration.
Manage live users and financial operations in production.
***
## Best Practices
* Always store the **Paywint User ID** to map internal users to Paywint.
* Ensure [KYC](/api-reference/compliance/kyc/create-enquiry-link)/[KYB](/api-reference/compliance/kyb/submit) is completed before initiating payments.
* Use the dashboard for manual review, troubleshooting, and support operations.
Access your sandbox merchant dashboard for testing and integration.
Manage live users and financial operations in production.
***
## Best Practices
* Always store the **Paywint User ID** to map internal users to Paywint.
* Ensure [KYC](/api-reference/compliance/kyc/create-enquiry-link)/[KYB](/api-reference/compliance/kyb/submit) is completed before initiating payments.
* Use the dashboard for manual review, troubleshooting, and support operations.